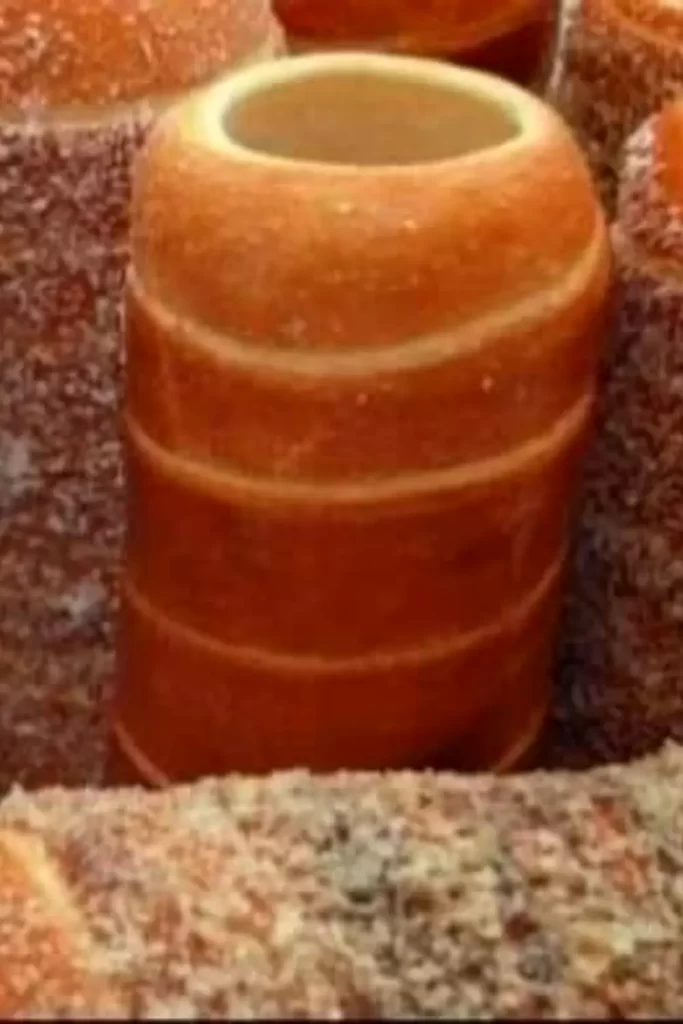
Since the original names are too difficult for some people to pronounce, the name “Chimney cake” is frequently adopted. Smoke may be seen rising from the center of the cylindrical pastry when the baked Chimney cakes are taken from the cooking roll, like a smoking chimney!
Traditional chimney cakes are hollow and cylindrical, and after baking, they are dusted with a coating that adheres to the caramelized sugar. During the cooler months, especially during October festivals and Christmas markets, when people sometimes wait in line for hours to buy warm, freshly baked treats, traditional chimney cakes are highly popular.
Historically, the popularity of the classic Chimney cake would wane as the seasons got warmer. After considerable deliberation, we came to the conclusion that adding ice cream to the product could make it more appealing for use in warmer climates.
The Chimney cone was created when we re-engineered the cylindrical conventional frying roll into a cone form to make the ice cream simpler to enjoy. The creation of the chimney cone—or the donut ice cream cone, as it was called when a picture of one went viral—has allowed chimney cake merchants to extend their selling season and operate year-round.
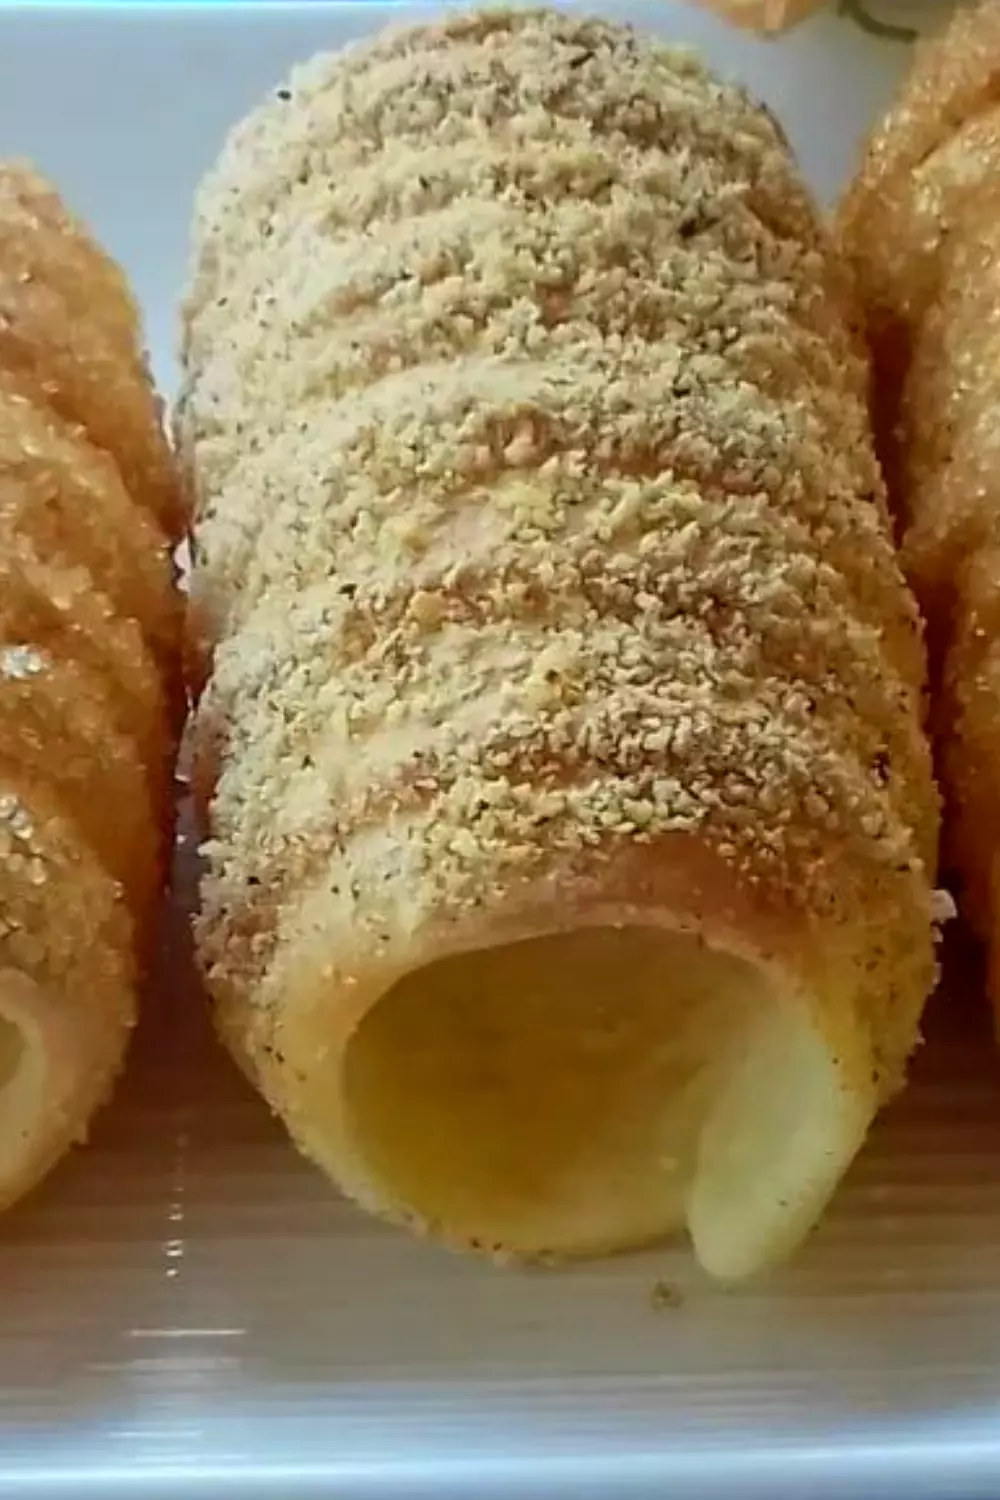
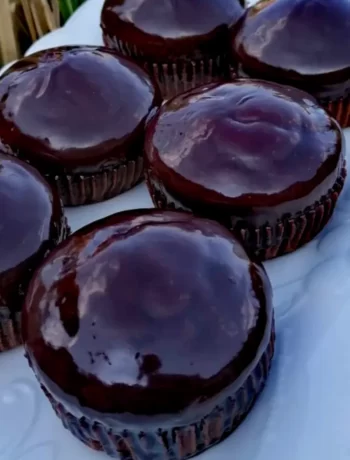
Chimney cakes are often sweet. Before baking, the dough is dusted with sugar; when it melts during baking, a topping is sprinkled over the sugar. Coconut, chocolate, almonds, and cinnamon sugar are typical garnishes.

Chimney cake (Kürtöskalács in Hungarian or Trdelník in Czech) is a sweet bread with a crispy outside and soft fluffy inside. Its cylindrical hollow shape gives it the name ‘chimney’.
Sweet Chimneys
 (No Ratings Yet)
Ingredients
- 500 gr of plain flour
- 2 eggs
- 70 g of butter
- 250 ml warm milk
- 5 tbsp of sunflower oil
- 20 gr of fresh yeast
- 4 tbsp sugar
- a bit of salt
- if you want add a little cinnamon and hazelnut
Instructions
Put a little sugar, yeast, and flour in lukewarm milk.
Stir and let them rise.
Then combine all the ingredients in a mixing bowl, remaining sugar, yeast, eggs, salt, and oil, and lightly add flour.
Knead a smooth, non-sticky dough.
Cover it and leave it aside for about 20 minutes.
Melt the butter on low heat.
Place the risen dough on the work table and use a rolling pin to roll out the dough into a rectangle, 2-4 mm thick.
With a pizza tool, cut strips, 1.3 or 1.5 cm wide.
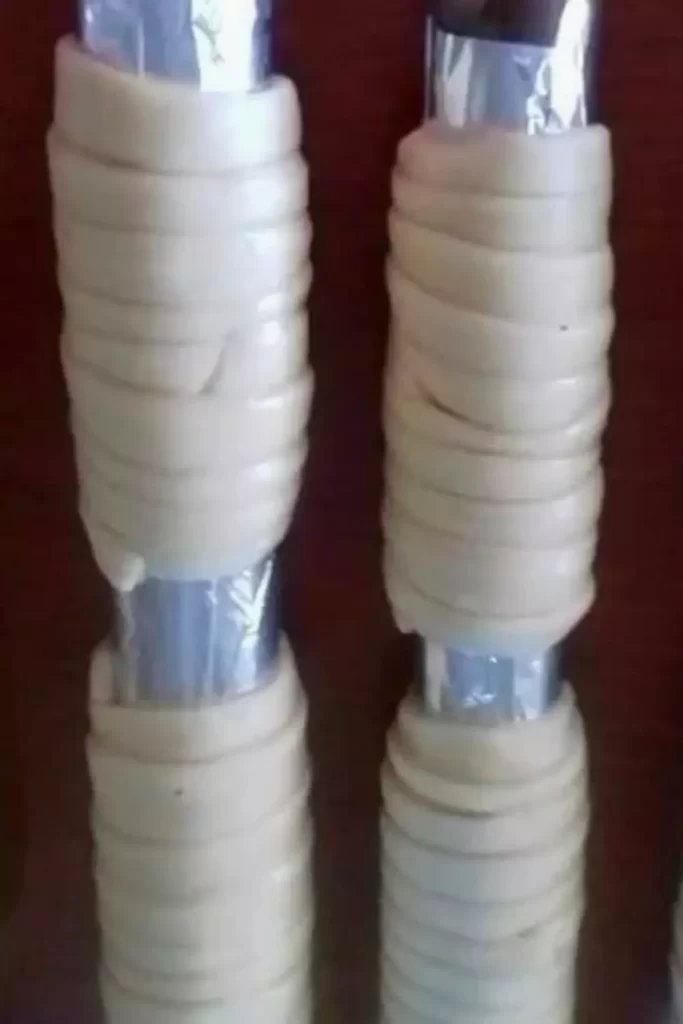
I used cardboard packaging made of aluminum foil for this purpose.
Again, I wrapped each package with aluminum foil and thinly coated everything from above with melted butter,
Now we take one strip of dough and roll it around the cardboard, making sure that they overlap slightly.
I put 2 on one roll.
Now we take the whole roll and roll it 2-3 times on the work table so that they are even.
The procedure is the same until we use up the dough.
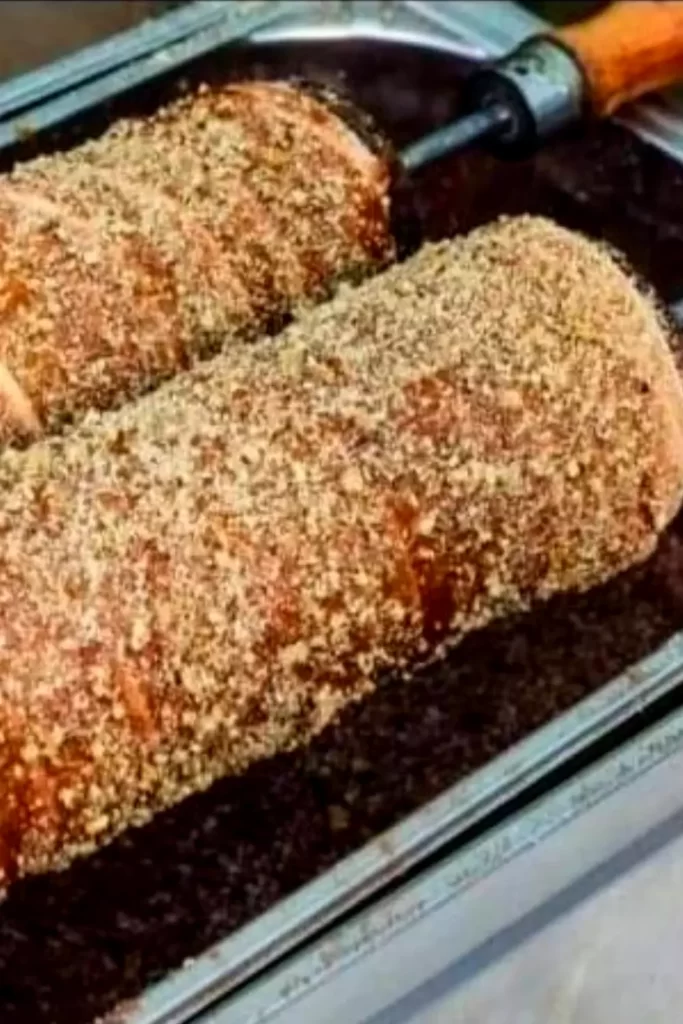
With the help of brushes, coat each tart with melted butter.
We roll in brown sugar, or sugar with cinnamon or ground hazelnuts...
The choice is yours
Let them bake at 180 degrees for about 25 minutes until they are golden brown.
Let them cool down for 5 minutes, then carefully remove them from the roll.
Now comes the filling...everyone has their choice, vanilla cream, ice cream, chocolate cream, strawberries...

No Comments